Romantic, love cards always include hearts and declarations of love on the cards. Such cards are given on occasion or without it: on Valentine's Day, Birthday, on the anniversary of a relationship, on the occasion of reconciliation, as a token of gratitude, etc.
 On the eve of Valentine's Day, the news portal "site" has prepared for you an excellent selection of cards for your loved ones, which you can easily make with your own hands in a matter of minutes.
 DIY postcards
Postcards to your loved one
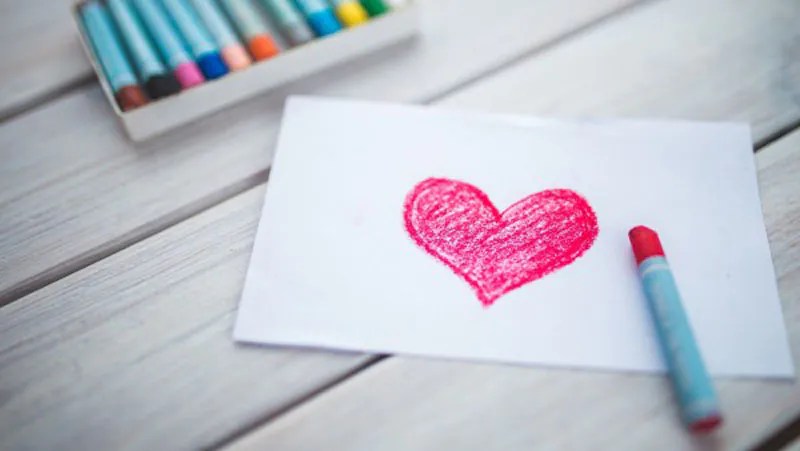
DIY postcard with a voluminous heart
 Such a luxurious voluminous heart will be a wonderful touching decoration for your homemade postcard. It's very easy to do. To make it you will need: colored paper, a sheet of thick colored paper (preferably choose red or its shades) for the base of the card, PVA glue and scissors.
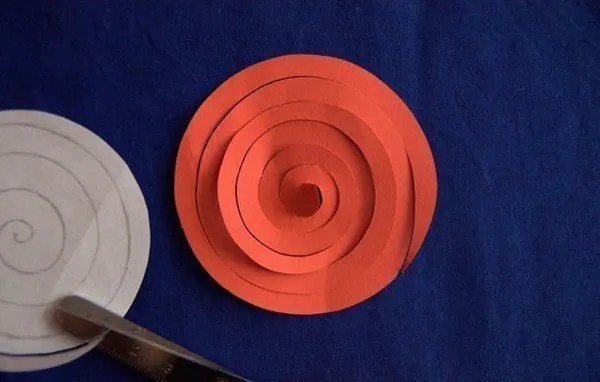
 Cut out from colored paper a large number of multi-colored circles. Try to choose paper colors that are the same color but in different shades.
 Then, using a pencil, draw a neat spiral on each circle and cut it out. Then form a small rose out of the finished paper spiral and secure it with PVA glue. From the resulting large number of paper roses, form a voluminous heart on the front side of a romantic homemade greeting card. Glue the roses using PVA glue or double-sided tape.
DIY love tree postcard
 Very sweet and bright postcard, which you can easily make with your own hands from colored paper.
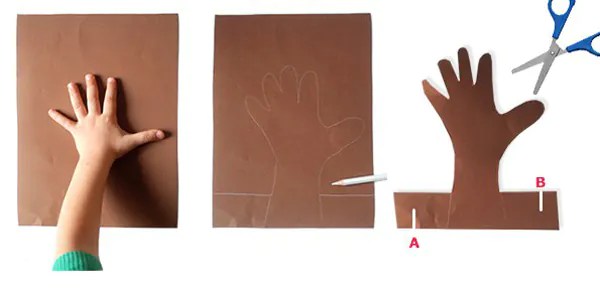
 Trace your palm on colored paper Brown. Carefully cut it out. You should end up with a small tree with a trunk and branches. Since it’s frosty February outside, I really want spring to come soon and warmer weather. rays of sunshine, decorate the tree with multi-colored hearts.


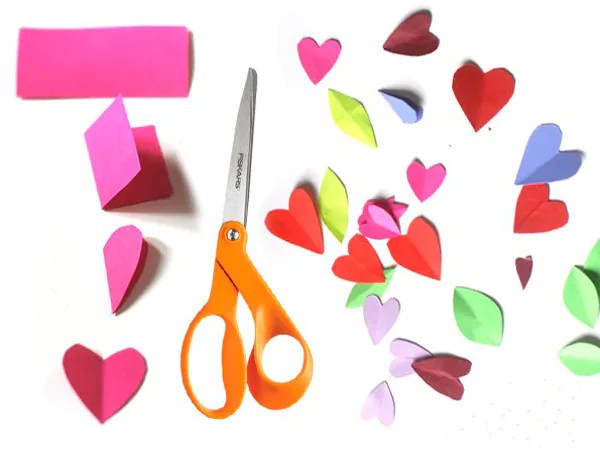
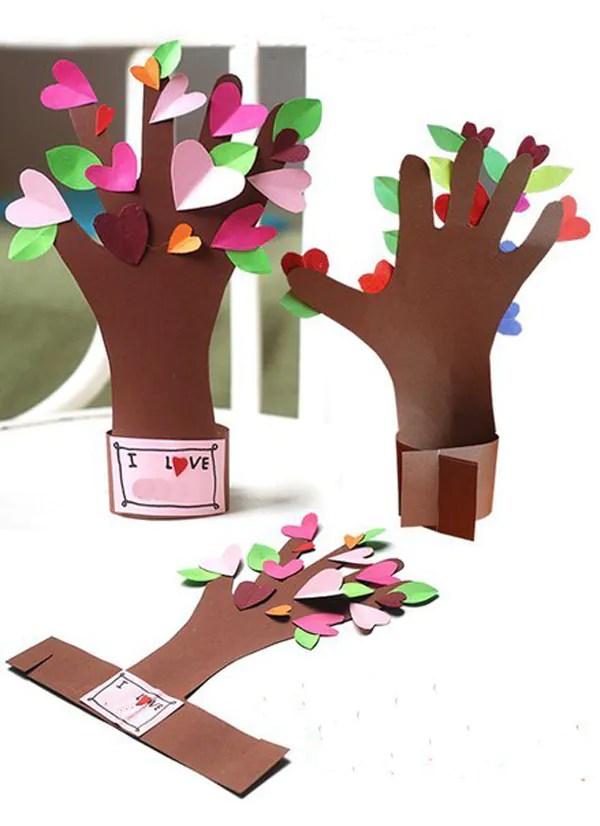 On each heart you can write declarations of love, give compliments or write to your lover why you love him.
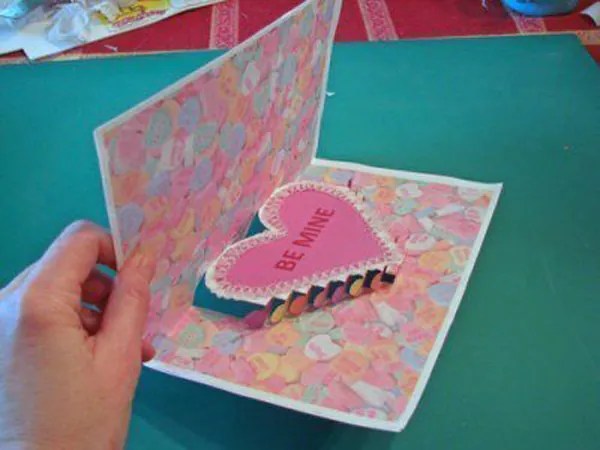
Postcard to your loved one with a heart
 An unusual, but very easy to make postcard. Cut strips of the same width from decorative paper, but different lengths(see template).


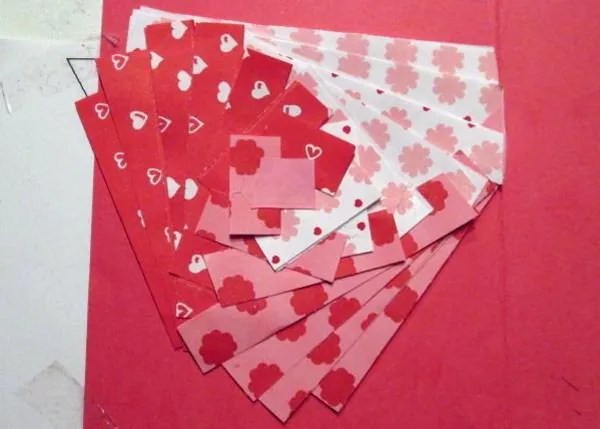 Glue pieces of decorative paper to the shape of the template and glue it inside the card. Cut out a neat, large heart on the front of the card.
DIY postcard with 3D heart
 This version of a romantic postcard for a loved one is for the most patient and careful people in love.

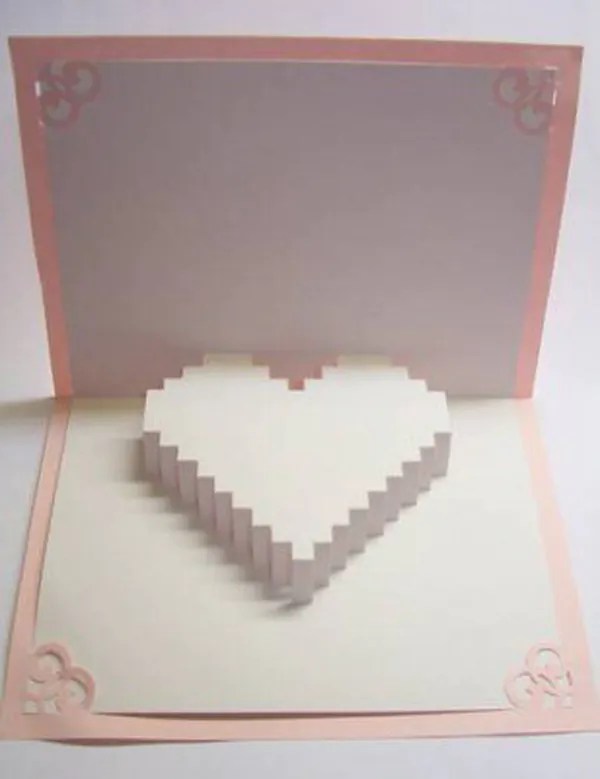
 Precision and impeccable accuracy are very important in the production of this postcard.
The news portal “site” wishes you to love, be loved and try to make each other’s lives much brighter and warmer.
Every clever man and even more so, a smart man will always appreciate a postcard from his beloved woman, which she made with her own hands. A hand-made card shows that the giver spares neither time nor effort to please the person dear to her. In our age of huge choice and a sophisticated market that can satisfy any needs and desires, postcards and other things have become increasingly valued self made
. People began to want more unique and individual things, created with love, and not in an industrial way. A homemade card is suitable for any man for any occasion. But the most relevant, of course, is Birthday.
DIY shirt and tie postcard You can not only please your beloved man, but also surprise him. original postcard
in the form of a shirt and tie. It is done using the origami technique in about 10 minutes.
- What you will need
- A4 colored cardboard;
beautiful colored ribbon.
- Stages

- 1. The cardboard is placed face down. The vertical edges bend towards the middle.
- 2. Unfold back, and the upper corners are folded exactly along the created fold line.
- 3. The same corners are bent in half.

- 4. The upper part is bent down along the resulting line. There are triangles along the edges - these are the sleeves of the shirt.
- 5. The paper is turned over to the other side. The sleeves are at the bottom. A strip corresponding to the width of the ribbon is folded at the top.

- 6. The paper is turned over to the other side and a collar is made by folding the upper corners towards the middle.
- 7. The collar unfolds and a ribbon is inserted at the fold, then the collar is folded again.
8. The bottom of the paper is folded upward and the tie is tied directly under the collar.
A stunning postcard is ready. Now you can congratulate your beloved birthday boy! Instead of a tie, you can make a shirt with buttons or a bow tie.
For a shirt, you can choose regular colored paper or paper that imitates the colors of real shirts.
 This card looks really original, bright and fun. And it's incredibly easy to do.
in the form of a shirt and tie. It is done using the origami technique in about 10 minutes.
- white cardboard A4;
- scissors;
- glue;
- threads;
- colored paper;
- markers or pens different colors.
beautiful colored ribbon.
- 1. Cut out many colorful circles different sizes. Threads are glued to them.
- 2. A sheet of cardboard is folded in half.
- 3.Flags are cut out from colored paper, one per letter. The congratulatory phrase can be absolutely anything, for example, “I love you,” “Happy Birthday, dear.”


- 4. The flags are glued to the thread.
- 5. Some balls are glued directly to the cardboard, others are made voluminous. How this is done can be seen in the figure.


in the form of a shirt and tie. It is done using the origami technique in about 10 minutes.
- glue;
- scissors;
- congratulatory insert;
- cardboard for frame, base, pocket, reverse side;
- photo or drawing of a car and money;
- thin lace;
- halves of beads;
- scrap paper;
- stamps of different colors;
- paper.
beautiful colored ribbon.
- 1. The base cardboard is folded in half.
- 2.The front side is folded in half again.
- 3. Cardboard for the pocket is glued onto scrap paper.


See how to create a card for a man with your own hands!
I think that educators and teachers will like the idea of making greeting card. This is a good idea to make such a postcard with schoolchildren or senior kindergarten students. Children love to be imaginative and creative. And with your little help, children can easily create such beauty. Let's watch a short master class and teach children how to make postcards.
This creative shirt will surprise and touch dads when they receive such a creative gift made with love by their little ones with their own hands!
materials
- colored paper or cardboard
- glue is better dry
- ruler
- pencil
- rhinestones or small buttons (at your discretion)
sample

Click to enlarge
To print the template, you can save the image to your computer, set the ideal size and print.
Postcard for a man step by step
We have collected necessary materials and start working on creating our postcard

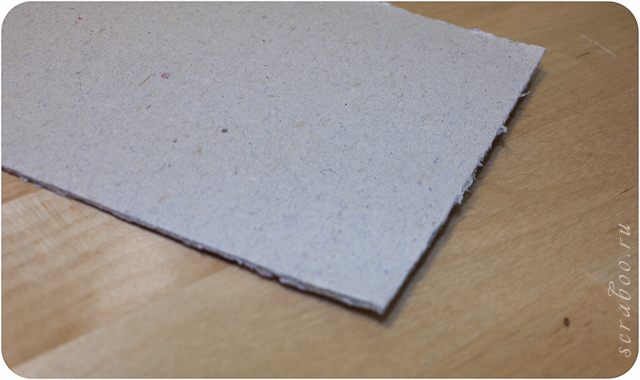
It is better to make a postcard from thick cardboard. Let's take either a blank for a postcard or measure the cardboard ourselves and cut it, remembering that it should be rectangular shape.

Using a ruler, measure the middle of the front side of the card, and mark a strip on the back side with a pencil. The depth of the strip is 3 centimeters, but remember that the sizes are individual and it all depends on the size of your postcard.

Now, using scissors, we make a cut, strictly along the line that you drew with a pencil. And turning the paper right side out, diagonally, we form the collar of our shirt.

What's a shirt without a tie? Let's take a pre-printed tie template and use it to create a tie. For this we need either thick colored paper or writing paper. Trace with a pencil and cut out with scissors.

Then we try on the tie with the shirt; if it is too big, we trim it a little. And then glue it with dry glue.

If desired, you can decorate the shirt collar with rhinestones or small buttons. We simply fix them with glue to the collar of the shirt.
In this master class I will show you how to easily and simply make a very beautiful men's card!
 |
Men's postcard - master classTo make such a masculine card we will need: 1) A sheet of cardboard 30*15 cm, folded in half 2) Two paper blanks 14*14 cm for the inside and outside 3) Main picture of the postcard (I have a car) + inscription 4) Materials for decoration (key, button and two leaves) 5) Shaped hole punch 6) Thin double-sided tape or glue stick 7) Thermal gun or glue moment 8) Scissors 9) Piece sandpaper or a nail file. |
 |
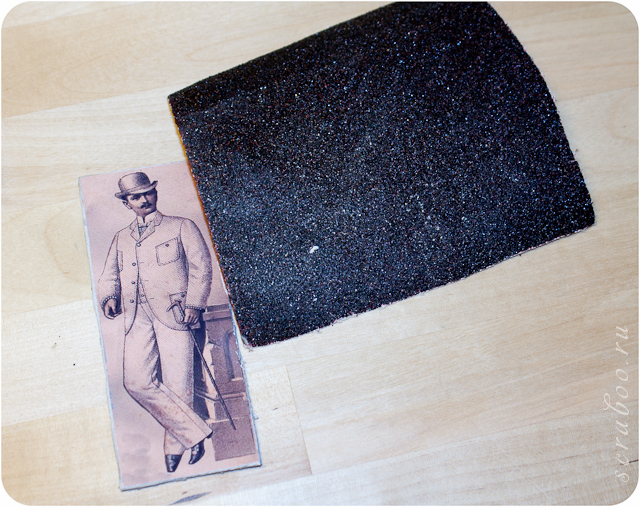
First, use sandpaper to erase the edges of the inscription. |
 |
We do the same with a piece of paper, which will be the background of our postcard. |
 |
Using tape or crayon, glue the paper for the background and inner part postcards on blank cardboard. |
 |
Using a figured hole punch we make a beautiful edge on the inscription. |
 |
Glue all the elements (picture, button, leaves, key) of the postcard to the background. |
 |
And we get a ready-made postcard for the man |
My first handmade postcard
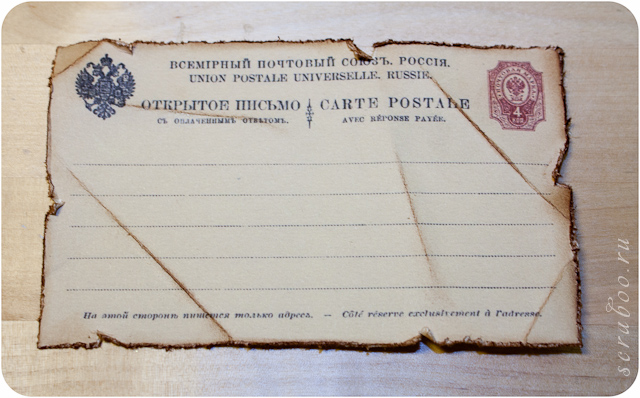
On the eve of the holidays and at the request of readers, I present to your attention a master class for beginners. We will make the first postcard with our own hands using the example of a man's postcard.
We will need:
1 sheet of cardboard A4 size
Scrapbooking paper
Scissors or cutter
Pencil
Ruler
ink pad
Twine
Double-sided tape or glue stick

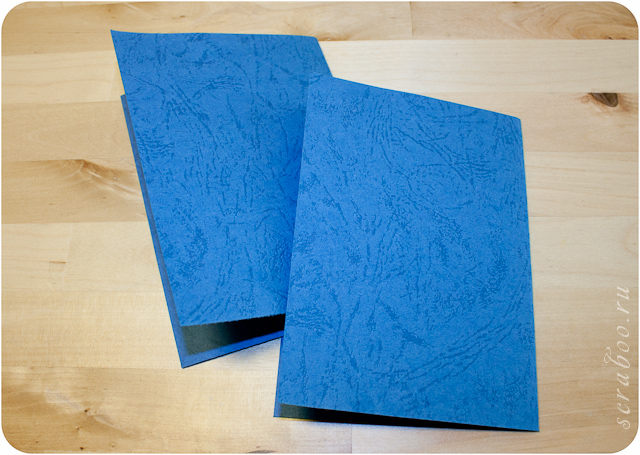
First we need to make a blank for our postcard. Bend A4 cardboard in half and cut it
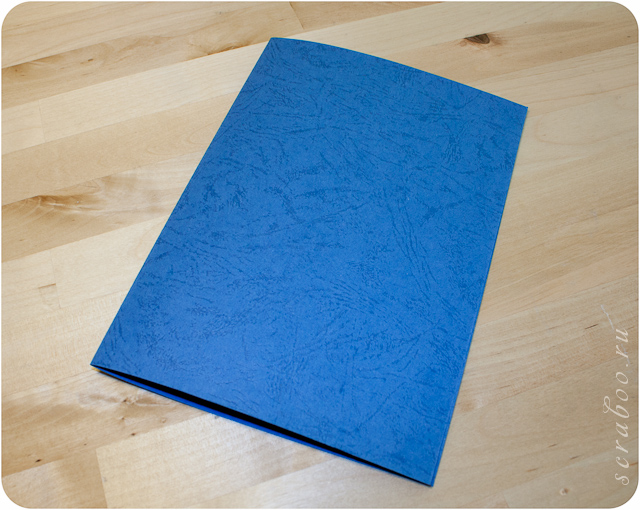
 We get two halves

Now we bend each half in half again. Two blanks for postcards are ready
Before you start creating a card, you need to make sure that all the elements in our card are combined

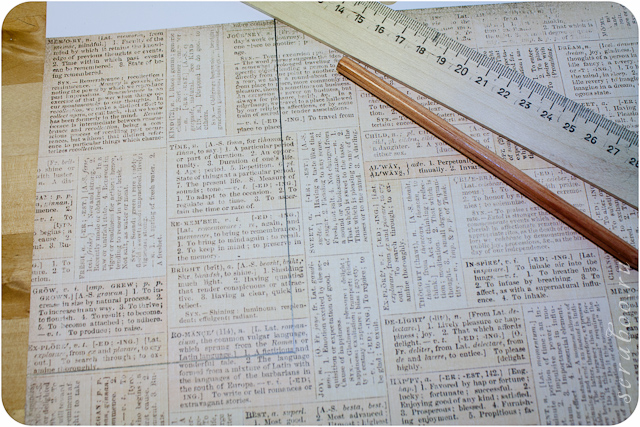
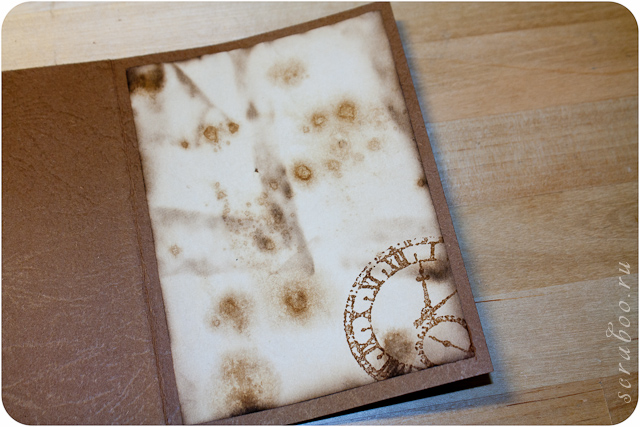
We cut a rectangle from scrapbooking paper slightly smaller than the workpiece, retreating 0.5 cm from each edge. If you have scraps from papers, you can use them, for example, to sew a background from squares or strips suitable friend to a friend by color
 We age our pieces of paper (background paper and postcard), to do this we go along the edge with a scissors blade, sandpaper or a special tool for aging the edge
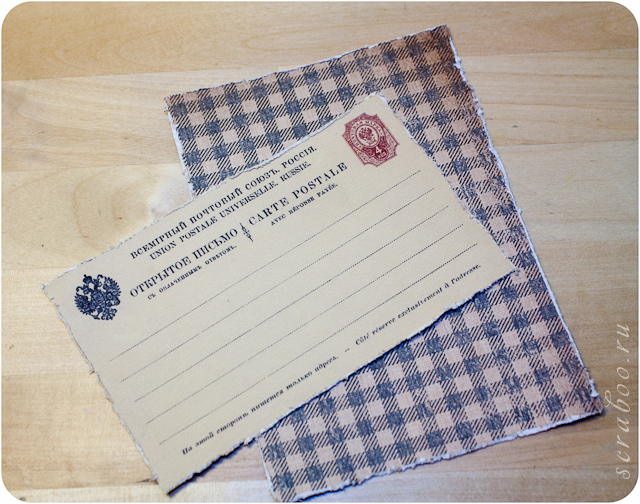
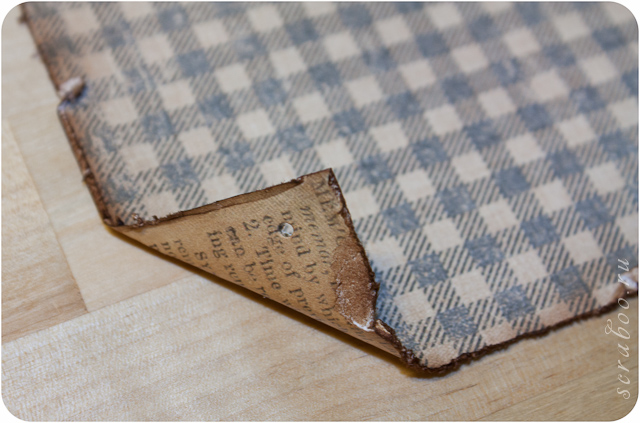
On each side we slightly tear the edges of the paper and bend them (I always separate the top layer with the pattern from the main one and fold it, and leave the bottom layer as it is or carefully tear it off)
 Using a brown ink pad, we tint the edges of our pieces of paper (if you don’t have an ink pad, you can)
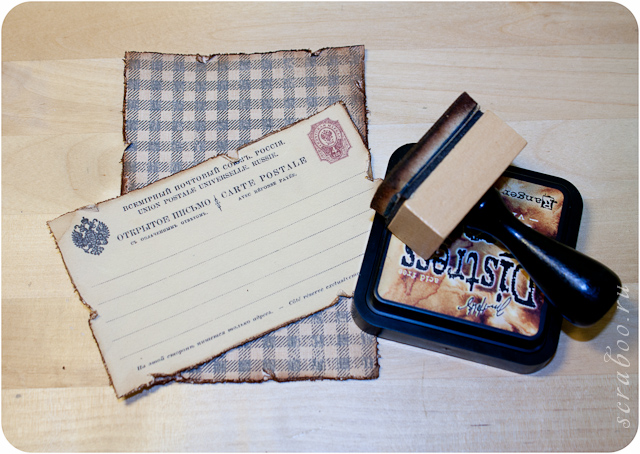
Now we bend the postcard in several places and go over the folds with a sponge with an ink pad
Let's move on to the printed picture. First we glue it onto cardboard (for this I use 3 mm cardboard)

 Then we go along the edge with sandpaper
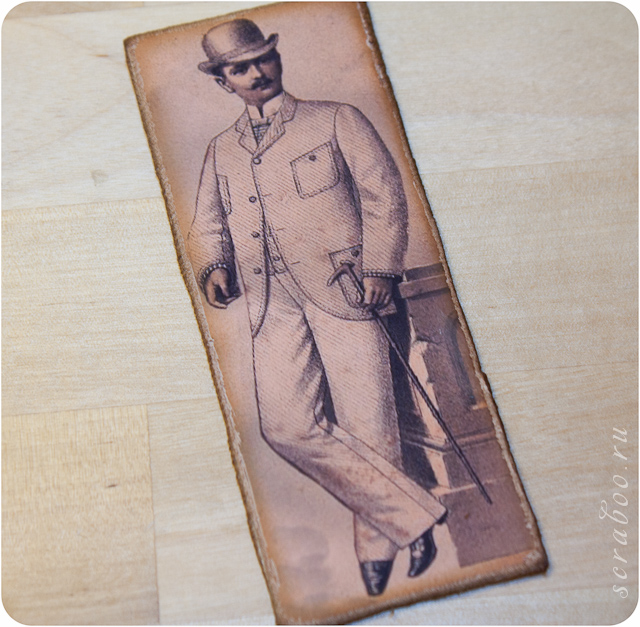
 Let's tint our picture
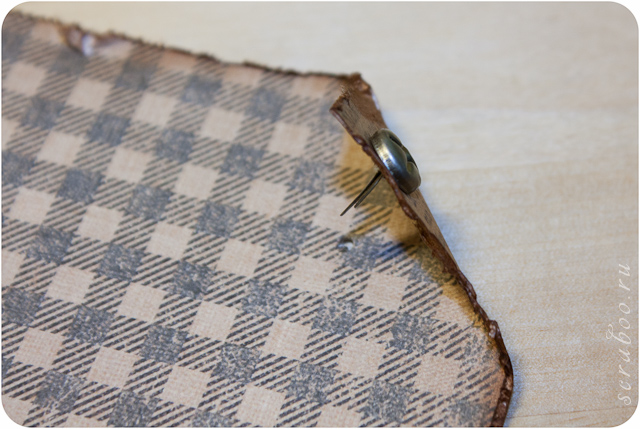
 Let's move on to the background paper and insert brads for beauty. We slightly bend the corner of the paper and pierce a hole with an awl.
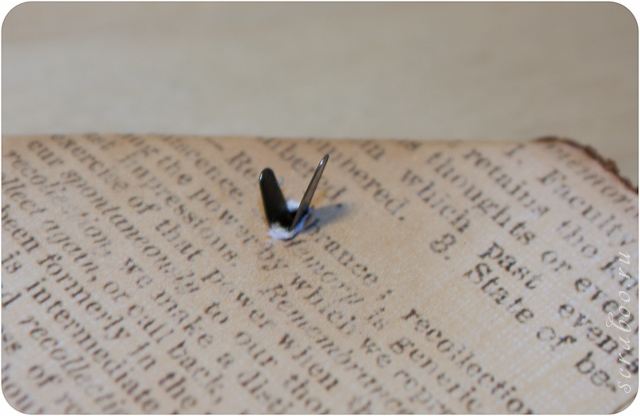
 Now we first insert it into the corner itself, and then into the piece of paper
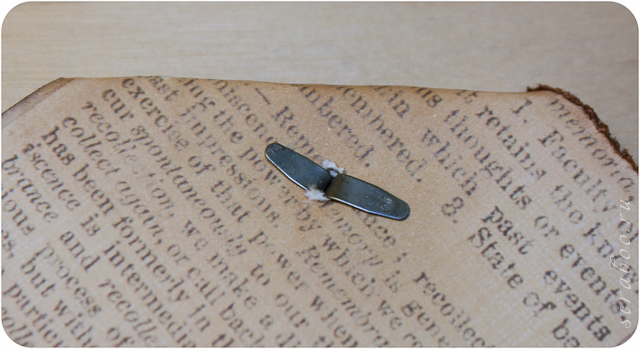
 We turn our paper over and spread the two legs of the brads in different directions.
 Now we glue the postcard to the background paper. We cut off the protruding edges of the postcard, then age the cuts and go over them with an ink pad
 We first glue a background piece of paper to the blank, and then a picture; for beauty, you can put a stamp on the bottom or glue a congratulatory inscription, and if you have distress craquelure paint, you can paint the curved corner with it
 Now let's decorate the inside a little. For this I use . We put a stamp on this paper at the bottom and glue it to the postcard.

We wrap twine around the card and tie it in one bow.
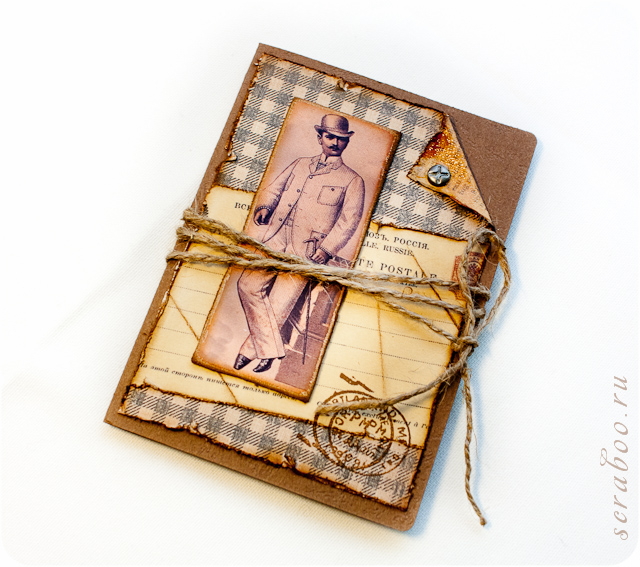
 First DIY postcard ready!
Such a postcard or money envelope can be made as a gift to someone. Men's Day, on February 23, and of course on Birthday. This example was made for Fathers Day, when shirts and ties are traditionally given as gifts. To create such beauty you will need decorative paper (can be from scrap sets).
I want to show you how you can fold a shirt using the origami technique. It turns out to be very entertaining and very easy to do. If you make the “shirt” larger, then the money will fit in there =). 1. Place the rectangular paper face down.Fold the 2 halves in half vertically.
2. Unfold the paper, then fold the corners at the top, centered along the fold line of the two halves. This way you will get 2 folded corners.
3. Then fold these 2 corners in half inward, along the fold line formed at the corners, continue to bend the top of the product. These triangles at the edges will be the sleeves of the shirt in the future.
4. Turn the product over, and also turn it over so that the “sleeves” are at the bottom. Then wrap the other end of the product (in my example, 7-8 mm).
5. Turn the product over again and fold the corners inward - this will be the shirt collar.
6. And now the last step: under the collar, fold the other end in half.
* You can protrude and round the collar a little, stick a thin strip of paper through, imitating a tie.
The image is clickable.
Men's frames | Templates for photos
Good day!
I've been wanting to do this for a long time stylish men's frames, i.e. for our wonderful and beloved men. Fortunately there is great selection textures and elements for this matter.
I began to draw with special trepidation. After all, the design should be special, different from women's design - elegant and discreet at the same time.

I hope it worked. And men will like my templates.
1. Denim men's frame
The texture is shabby, with metal rivets, there is very little decor - an excellent frame for men. It will be ideal for the composition if the color of the man’s clothes or eyes matches the colors of the template.

2. Sensual frame in red and brown tones
It would be ideal to take a staged photo for this template. Those. conduct a short photo session.

3. Men's frame in brown tones
More likely even in beige tones. Lightweight, casual design. The photo can be converted to sepia.

You don’t have to do color correction if there are gray colors in the photo.

I wish you to choose good photos in these photo frames.
If you liked the men's frames, then subscribe to my blog to receive updates.
Sincerely, Olga Anferova.
A card for the person you are dating or married to is a great gift that reflects your best feelings for him. And to convey these feelings to at its best, such an item in the form of a gift for a relationship or wedding anniversary, for a birthday or for another holiday must be created with your own hands.
Postcard for a relationship or wedding anniversary with your own hands
If you are already celebrating holidays with your loved one in the form of a wedding anniversary or relationship, you probably have accumulated a lot of photographs that capture the most beautiful moments that cause a storm positive emotions. All these photo cards can be used to create an incredibly romantic postcard.
The first thing you need is double-sided cardboard. You must determine its color, but it will be better to choose something bright or light. It should be folded in half to form a booklet shape.
The next step is to decorate with photographs suitable for a relationship anniversary or wedding. In order not to spoil the finished photo cards, it is better to print new ones. Important condition– your images should be small so that they can fit on cardboard. It is not necessary to try to cut out your images without a background, because without it they may not look harmonious.

Before pasting a photo over the cover, you need to write in the middle something like the sentence “Happy day, my love!”, and then place the photo around the inscription. Next, we write some congratulatory text on the first page. On the second page we attach a photo with your image cut out in the shape of a heart.

If you feel like there are too many gaps left, you can fill them in with hearts of different colors made from construction paper. And now, the gift for your wedding anniversary or relationship is ready!

DIY birthday card for your loved one
DIY certificate postcard – interesting option. Your loved one is unlikely not to be happy with such a gift!
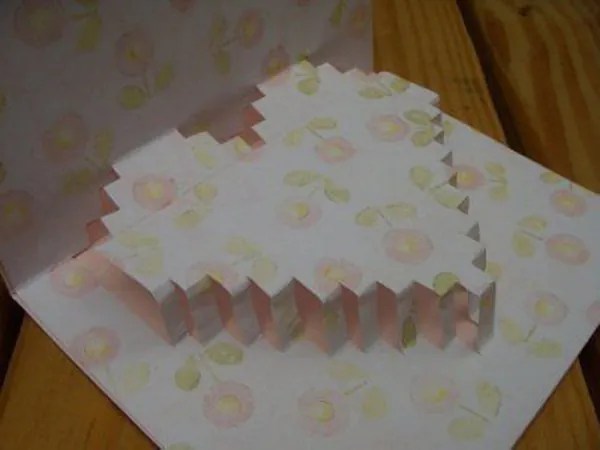
The basis will be double-sided cardboard, which should be folded in the shape of a book. Its color is your choice. On the cover you need to place multi-colored envelopes under numbers. A convenient option is to make nine envelopes, three in a row.

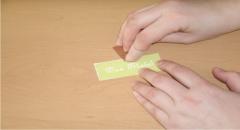
Making envelopes is simple - take a small rectangular piece of paper, put it in a vertical position and make three folds, dividing it into three equal parts. We bend the lower part inward and glue it on the sides to the middle one. Upper part bend it down and use scissors to make a triangle so that the fold line is the base. Attach the resulting envelope.

You need to put hearts in the envelopes to represent certificates. On the first page we write a congratulation, and on the second we indicate the purpose of the certificates by numbers. For example, certificate No. 1 is a kiss, certificate No. 2 is cooking a delicious preferred dish.

Universal DIY voluminous postcard for boyfriend
Such a voluminous card can be given to a guy for his birthday or any other occasion.

Take A4 size cardboard and fold it in half. It is advisable to choose a color that is not dark or red.
The cover can feature you and your dear person from various parts. Clothes are made from colorful pieces of fabric, arms, hair and legs can be created from woolen threads, and other parts of the body are easily made from paper. A suitable background is a huge heart. Don’t forget to write something like the phrase “Happy Birthday, dear!” above.

From red paper you need to cut out a heart that will fit inside the card, draw a face on it and glue handles to it. Palms need to be glued to inside. The three-dimensional postcard is ready!


